


Ingredients:
Turkey, thawed (mine was about 21 lbs)
3 sprigs thyme
2 sprigs rosemary
3 sprigs sage
4 garlic cloves
1 lemon
1 pound of butter (4 sticks)
Salt and Pepper
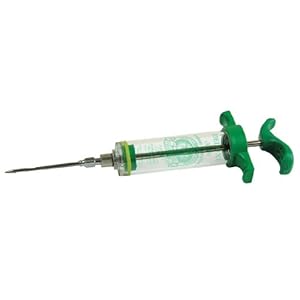
Injector
So, first start by take 2 sprigs of thyme, 1 sprig of rosemary, 2 sprigs sage and remove leaves from stems. Then finely chop. Next chop garlic, and zest your lemon. Melt the butter and add in chopped herbs, garlic and lemon zest. Now use your blender (or a stick blender) to puree the butter mixture, you need the herbs sooo small so they don't clog your injector. Rinse your turkey and pat it dry. Tie legs or tuck them under (mine was done for me when I opened the package, yay!) And flip the wings under the bird. Place it in your roasting pan (mine is non-stick which makes it soooo easy to clean!)Now its time to start filling your syringe and injecting your turkey!!
I recommend an injector like this:
So, fill your injector and start injecting your turkey, make sure to do a few in the legs and thighs, but the majority of it into the breasts. Then generously cover your turkey with salt and pepper. Fill the cavity with your left over herbs and slice the lemon and stick that in there too. It will look like this:

Now put your turkey, uncovered into a preheated 400 degree oven. Cook at 400 for about 40 minutes and then turn heat down to 365. I did not cover my turkey at all, but if you notice it starting to get too brown cover lightly with foil. Now, here is the part that goes against everything I knew about roasting a turkey....resist the urge to baste! Just let it go as is, that is how you are going to get the crispy skin that everybody (except me) loves! And don't forget to get yourself an official turkey watcher:

Now, my bird cooked in about 3 1/2 hours for around 21 pounds. Yours might take longer, you need a good thermometer to let you know when it is done. You need the temp to reach 165 degrees. Make sure you check the thigh as well as the breast. When you have reached 165 take the turkey out of the oven and let it rest (don't cut into it!!!) for about 20 minutes. This will allow the juices in the turkey to settle into the meat. Then it is time to carve, I wish I had some special instructions for this part, but having a chef for a husband comes in handy :)
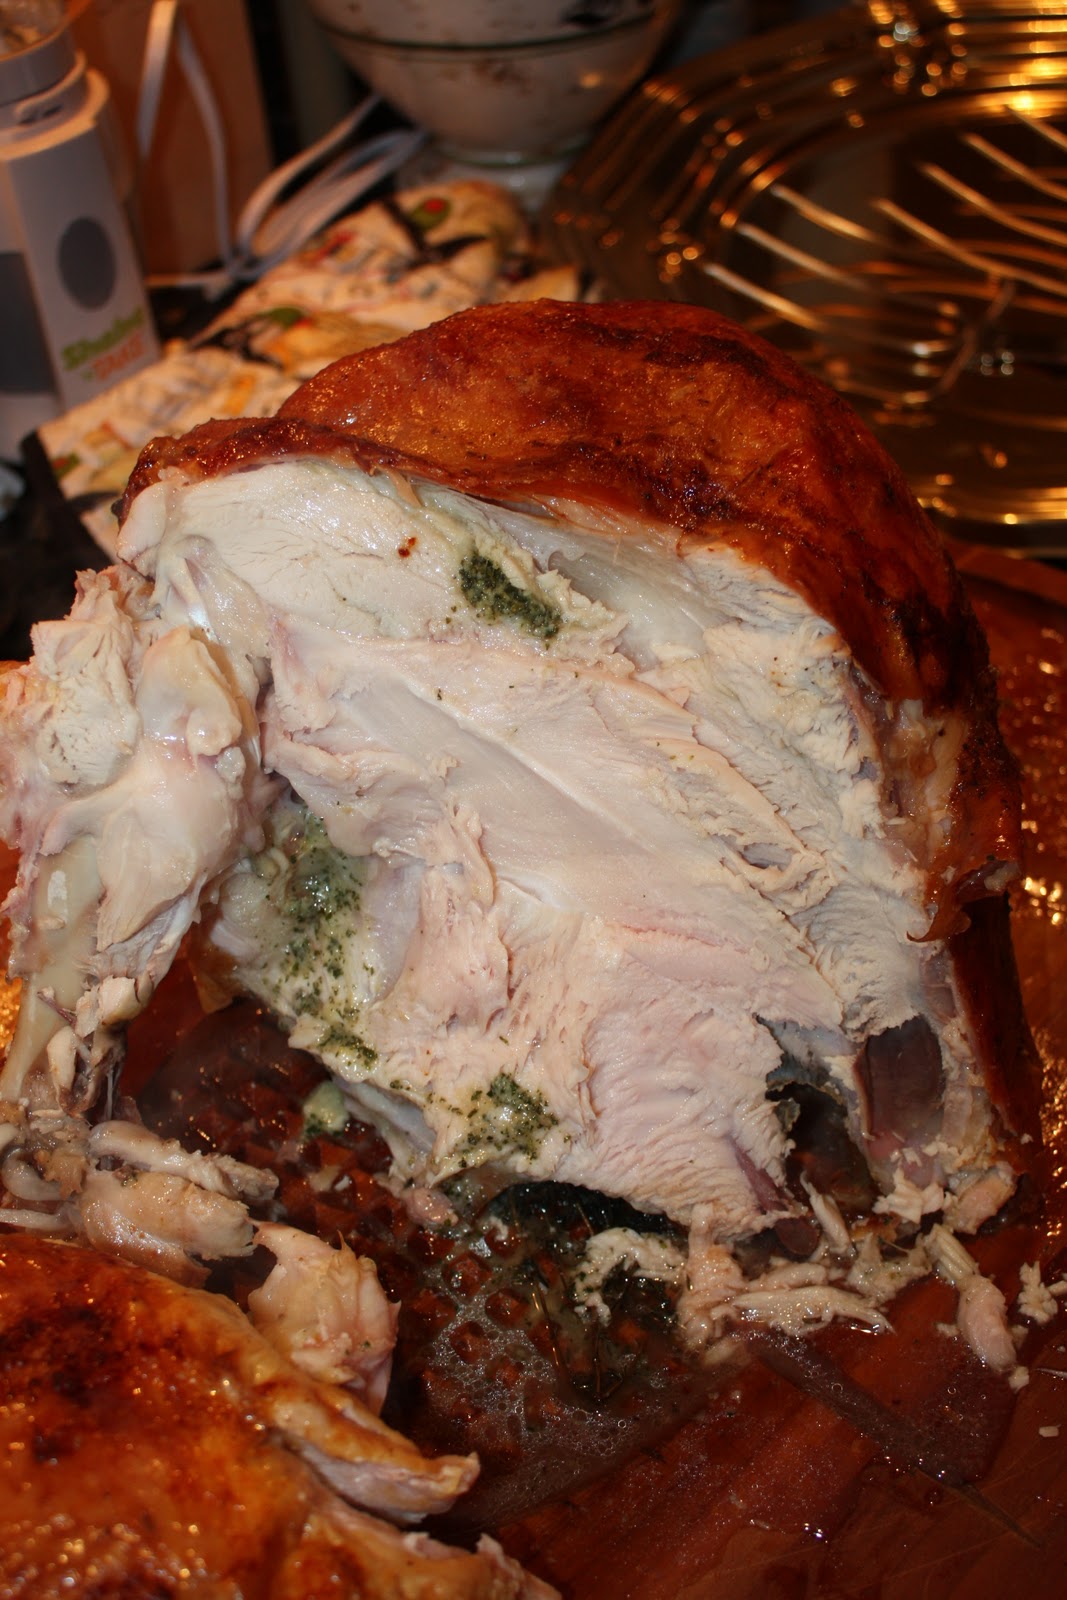
Look at the herbs in the meat, and how juicy the turkey is:
I hope you all enjoy this, and you can do the same thing with a chicken, just use less butter!


